Installing Proven
Purpose
- Setting up a development and testbed environment is not trivial. This slide deck documents the testbed I set up on my MacOS laptop. Hopefully this will be helpful to the wider GridAPPS-D team or other development teams using ProvEn.
- Disclaimer: This guide is intended to offer a complete set of notes. However there may be differences depending on the platform you are using and unfortunately there may some gaps of knowledge.
What you should expect to do
Once the development system and testbed are completely setup you should be able to run a ProvEn server in debug mode, accessible by REST services
Prerequisites
- Download and install
- Latest Eclipse IDE J2EE (I used Eclipse Oxygen.2 (4.7.2))
- Java 8 JDK
- Brew install
- git 2.12.0
- gradle 4.5.1
- influxdb 1.4.2
- maven 3.3.3 3.3.9
- Download and set aside for later use
- payara-micro-5.181.jar from: https://s3-eu-west-1.amazonaws.com/payara.fish/Payara+Downloads/
- Please note that Eclipse will need to be configured to support your Gradle, Maven, use your Java 8 JDK
Clone Proven Repositories
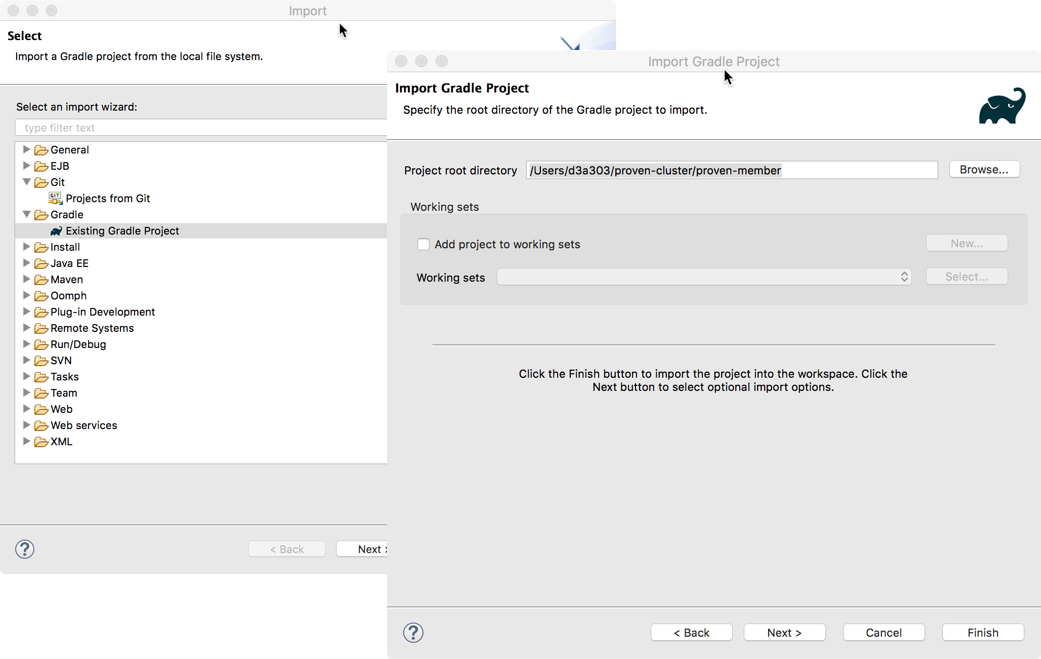
Import Gradle Projects in Eclipse
- Import proven-message and proven-member projects as gradle projects.
- Note: The “proven-cluster” project contains several nested layers of projects.
- Import the “proven-cluster” subproject “proven-member” – importing “proven-cluster will cause undesirable effects, limiting what you can build.
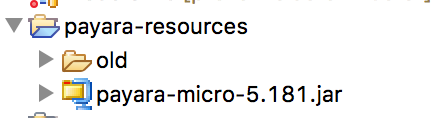
Create General Eclipse Project for testbed Resources
This project(name it “payara-resources”) will be used to provide a micro service engine for testing later. Add the payara-micro jar in the top folder
Build and publish proven_message jar
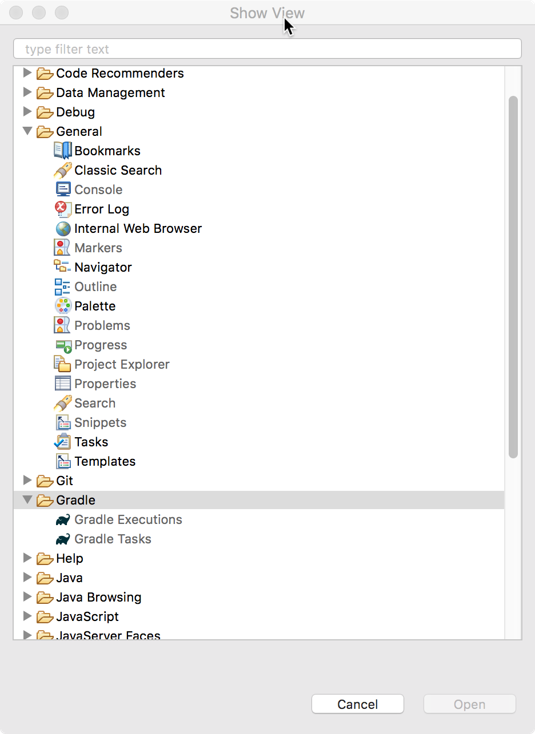
- Open the following Eclipse views using Window->show view
- General->Console
- Gradle->Gradle Executions
- Gradle->Gradle Tasks
- Click on the proven_message project (you may need to click on the build.gradle file).
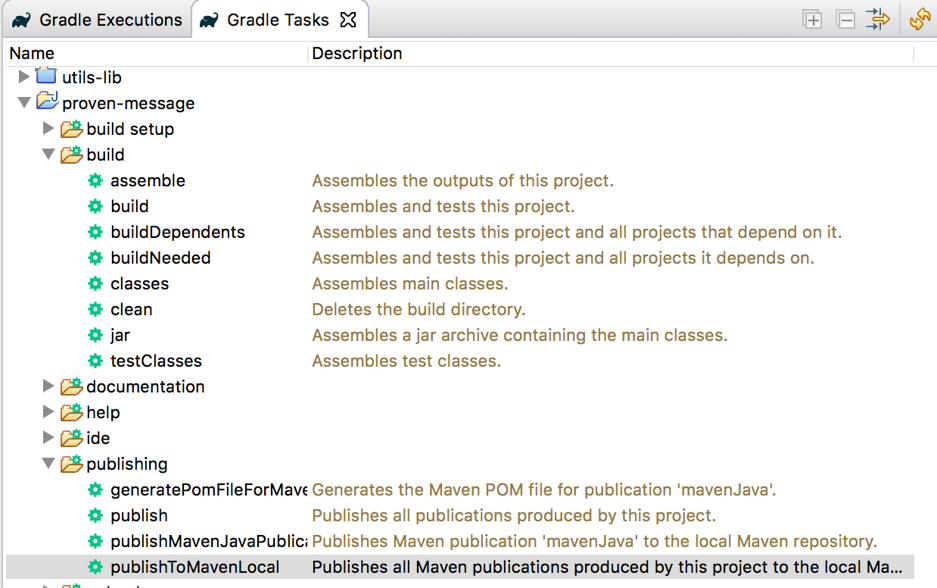
Build and publish proven_message-0.1-all-in-one jar
Build and publish the proven_message-0.1-all-in-one.jar file to maven local repository so that the hybrid services can use the interface. * Open build task folder * Double click on “build” task. * Open publishing task folder. * Double click on “publish” task. * Double click on “publishToMavenLocal” * Confirm no errors in Console View. * Inspect the proven-message/build/libs/ directory for proven-message-0.1-all-in-one.jar
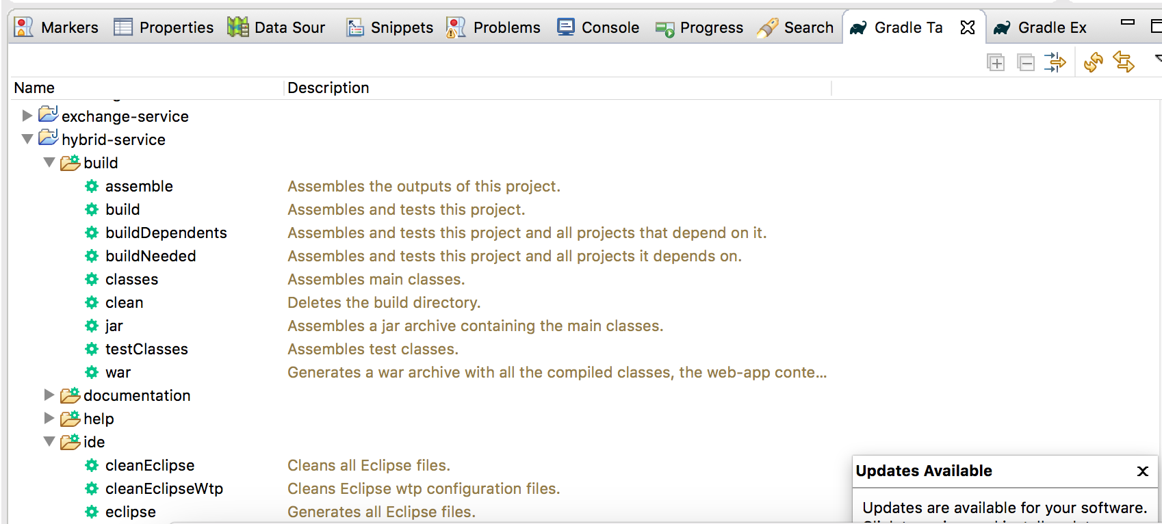
Building the ProvEn Server (proven-member)
- Use Gradle Tasks to Build the Proven hybrid service war file
- If necessary use Gradle IDE tasks to rebuild eclipse files.
Create External Tools Configurations
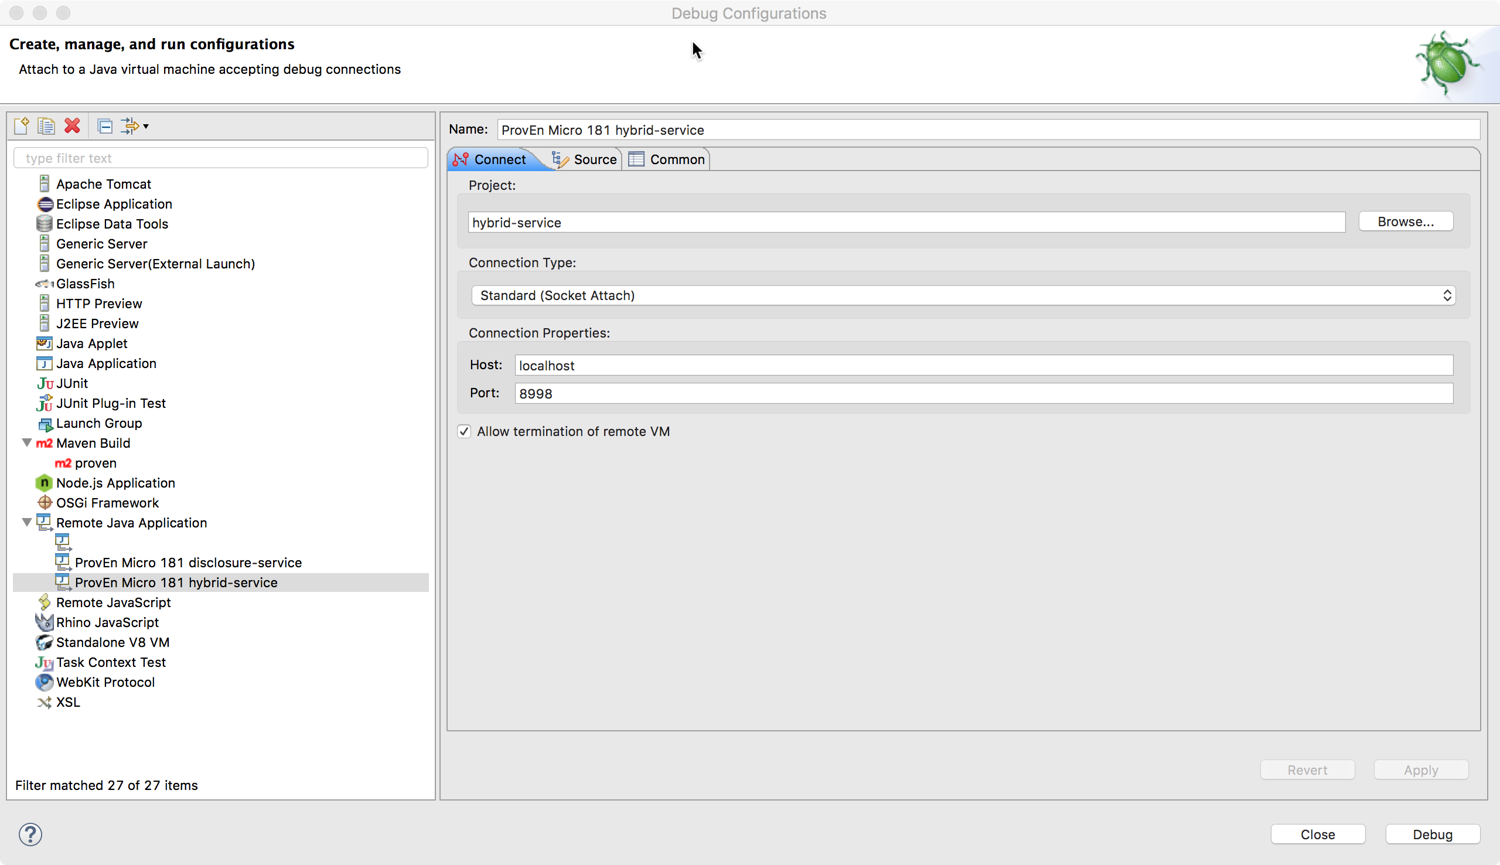
Create Debug Configuration
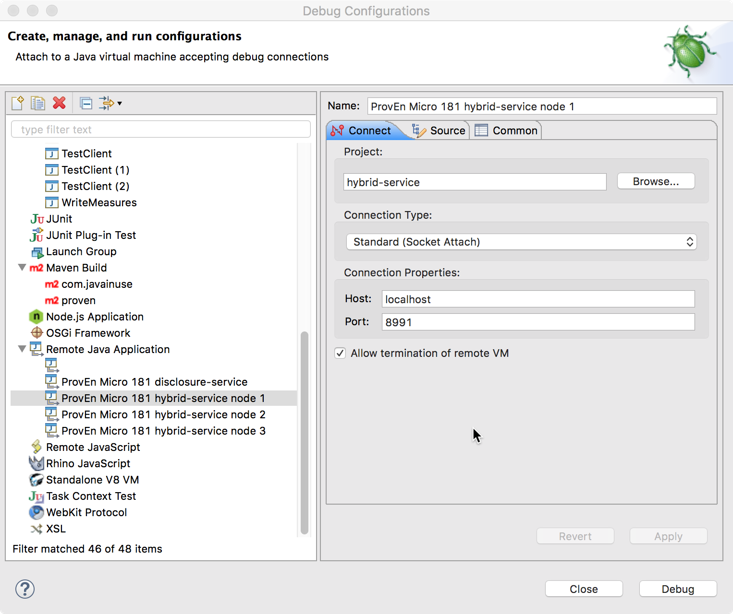
Running the Hybrid Service
- Steps to running server in debug mode:
- Start InfluxDB
- Run External Tools Configurations “proven payara micro 181 [DEBUG CLONE 1]”
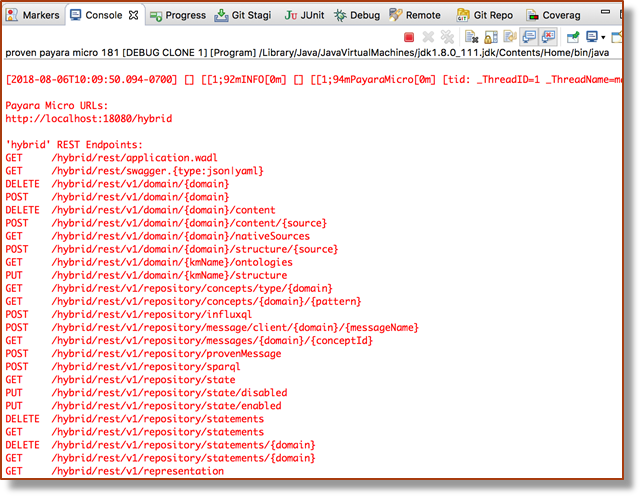
- Run debug configuration “proven micro 181 hybrid-service node 1”
- Startup can take several minutes

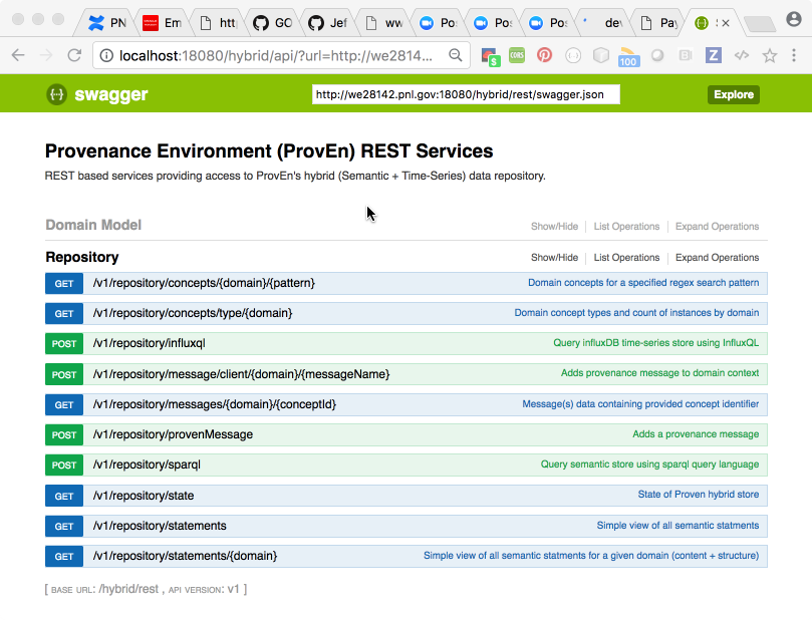
Correct startup should look something like this in the console
Swagger UI of Debug Interface